Turn community textures, your own images, and parametric patterns into real printable geometry. Everything runs locally; your model never leaves this tab.
Leather creates irregular grain and creases that can soften large plastic surfaces and make props, grips and upholstery forms feel less digitally perfect.
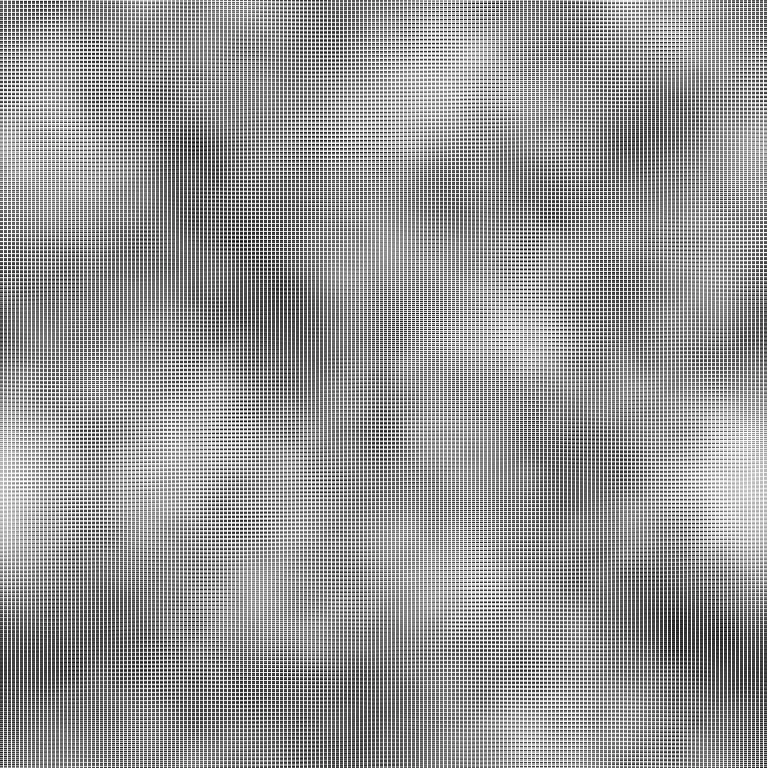
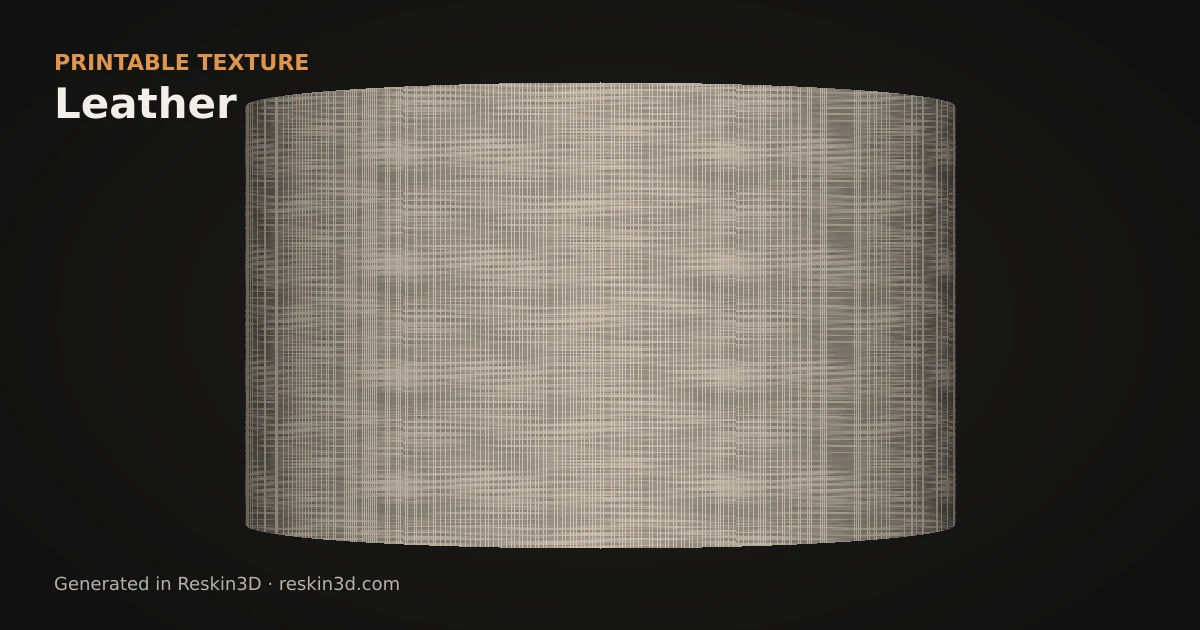
Flat height mapRelief preview on a curved surface
Printable texture guide
How to use Leather on a 3D print
Leather creates irregular grain and creases that can soften large plastic surfaces and make props, grips and upholstery forms feel less digitally perfect.
Where it works well
costume and prop surfaces
grips and soft-product prototypes
miniature upholstery and cases
Use the default real-world scale as a starting reference, then enlarge it for coarse upholstery or reduce it cautiously for miniatures. Organic textures tolerate infinite variation better than regular grids, but the selected feature size still needs to survive the nozzle and layer height. A shallow deboss usually preserves the part envelope.
Limitations
This is a procedural interpretation of leather rather than a scan of a particular hide. Excessive depth can turn subtle grain into sharp cracks.
Adjustable controls
Control
Range
Default
Grain Density
8–48
10
Crease Depth
0.1–0.8
0.3
Fine Grain
0–0.6
0.25
Apply it in Reskin3D
Open a watertight STL or 3MF and select only the surface that should receive the texture.
Use Leather, start with the settings above, then orbit the full model to inspect seams and protected faces.
Bake the layer, export STL or 3MF, and inspect the actual sliced toolpaths before committing to a long print.
Browse creator pages and use shared textures freely. Native accounts and in-site uploads are being introduced in controlled stages.
Your model remains private. Only a texture you deliberately publish will leave this browser.
Checking your account…
Reskin3D community
Sign in
Browse without an account. Sign in only when you want to publish textures or manage your creator profile.
Account recovery
Choose a new password
Use at least eight characters and avoid reusing a password from another service.
Your collection
Filter
Loading your textures…
About Reskin3D
Printable texture geometry, made in your browser.
Reskin3D helps makers apply adjustable patterns, height maps, and community textures directly to printable 3D models. It turns those textures into real mesh geometry that can be exported to a slicer.
No AI model alterationReskin3D uses deterministic geometry and image-processing tools. It does not use generative AI to change your model.
Private by defaultYour STL or 3MF stays in this browser. Only texture data you deliberately submit to the community is uploaded.
You choose what is sharedDrafts remain private to your account, and publishing clearly shows the texture image and information that will become public.
Honest export attributionExported STL and 3MF files identify Reskin3D as the generator and include reskin3d.com in file metadata. This does not change the model geometry.
Frequently asked questions
Is my model uploaded?
No. STL and 3MF processing happens in this browser. Only a processed texture and the information you review leave the browser when you deliberately save a community draft or publish it.
Is Reskin3D free?
Yes. The core model texturing, baking and export workflow is free to use without an account.
Does Reskin3D use AI?
No generative AI changes your model. Reskin3D uses deterministic geometry and explainable image-processing tools.
What files can I export?
After baking, you can export slicer-ready STL or 3MF geometry. The 3MF also preserves Reskin3D layer and print-guidance metadata.
Which online services receive data?
Cloudflare serves and protects the site. Supabase handles account authentication and stores community drafts or publications you deliberately save. hCaptcha loads only when a signed-out visitor opens the account form. Your STL or 3MF is not sent to any of these services.
Paste (Ctrl+V), drop, or
PNG, JPG, WebP or SVG. This step makes the texture map; you choose raise or carve after applying it.
Auto SettingsUpload an image and we’ll choose every meaningful setting.
Best for photos, logos and drawings. Auto Settings prepares a grayscale effect map; raise or carve is chosen later.
More image options
Rounds jagged edges and removes small artifacts, reducing needless mesh detail.
Texture map previewLight areas get the full effect by default
Auto tuned
Drop or paste an image to begin
Dark · little effectLight · full effect
No image yet — paste one now
Paste, drop, or
For material photos and uneven lighting. Drag the four corners over the useful area.
Auto SettingsAnalyses lighting, noise, feature size and relief shape.